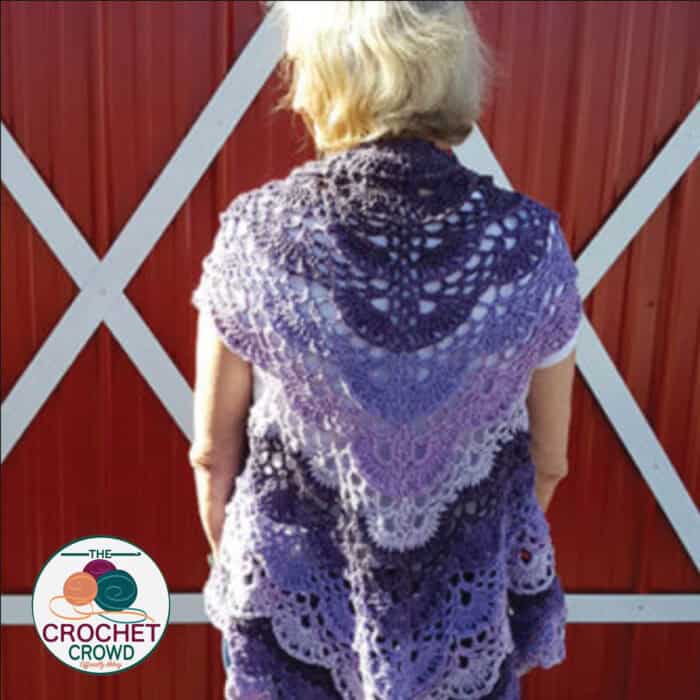
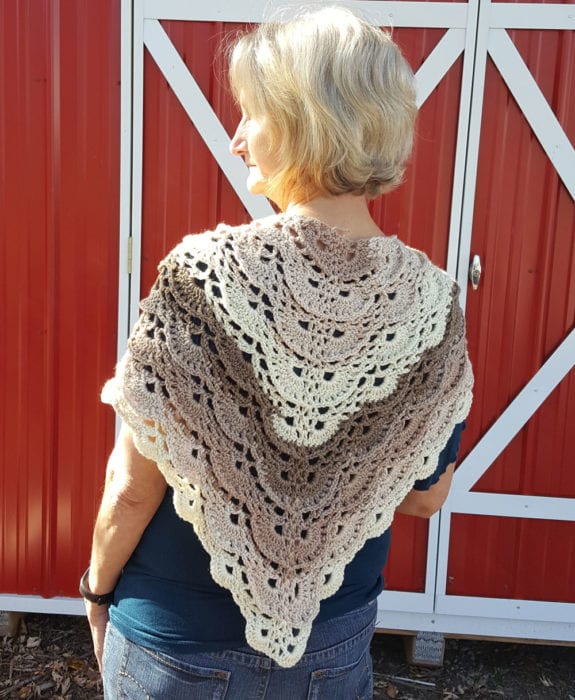
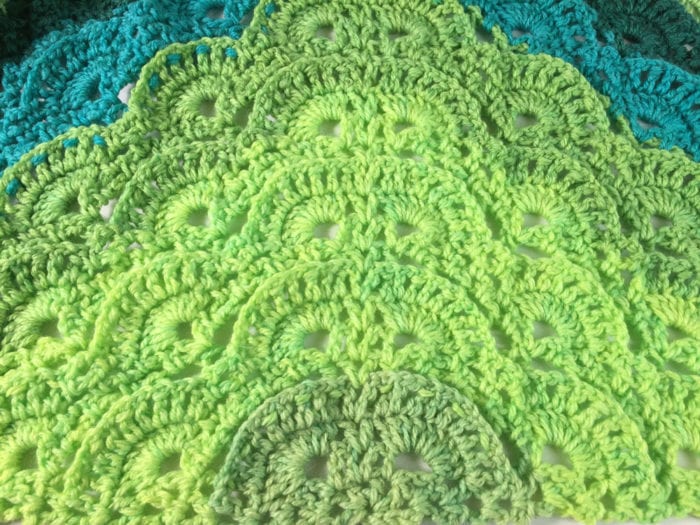
The Fluffy Meringue Shawl & Blanket has a new sister called the Fluffy Meringue Vest. All of these are similar in concept. The vest starts off the same way as the shawl but on Row 25, the pattern is slightly changed to include armholes. Row 26 picks up the pattern once again and then from there, it continues just like the shawl.
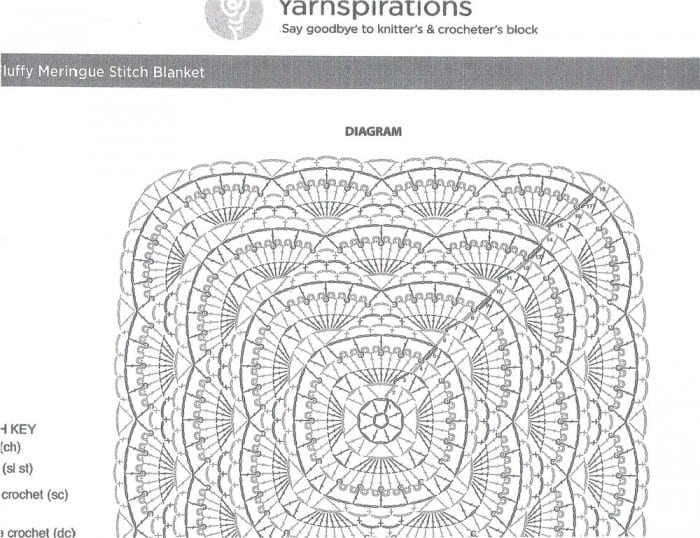
- The Fluffy Meringue Afghan is a full blanket.
- The Fluffy Meringue Shawl is half a blanket essentially.
- The Fluffy Meringue Vest is the shawl with spaces added for armholes.

Adapted by Laura Jean Bartholomew, The Crochet Crowd Seeker.
Materials
- 2 Caron Cakes
- Size 5 mm or H Hook
- Tapestry Needle
Special Stitch Abbreviations
- Beg V-Stitch – Ch 4 (Counts as dc + ch 1) dc in the same ch-1 space.
- V-Stitch – Dc, ch 1, dc in the same ch-1 space.
- Big V-Stitch – Dc, ch 4, dc in the same stitch.
Instructions
Be sure to count the rows as you crochet so you can get the armholes to be on Row 25.
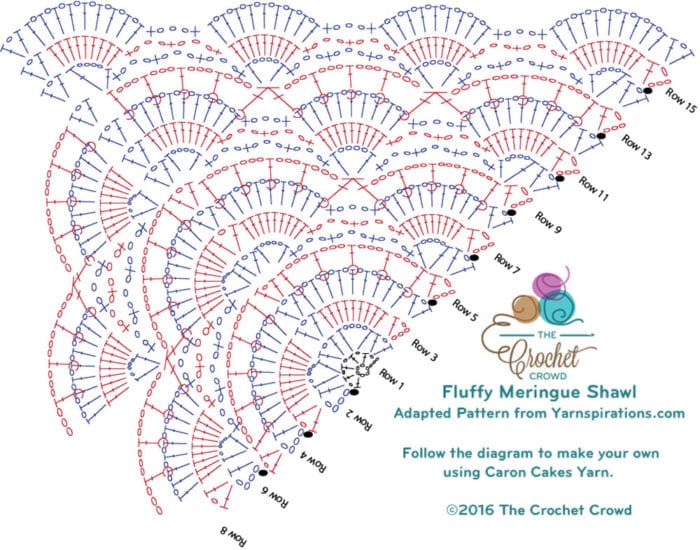
Ch 5. Join with sl st to first ch to form a ring or use a magic circle.
- Ch 4 (counts as dc and ch 1). (1 dc. Ch 1) 4 times end with one more dc in ring. Turn.
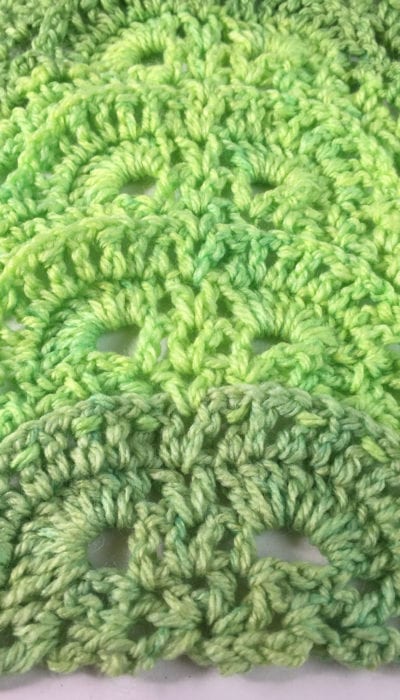
First Crochet Sprays
- Sl St to ch-1 space. Beg v-stitch. Big v-stitch next sp. V-stitch next space. Big v-stitch next sp. V-stitch in final ch-1 space. Turn.
- Sl st to ch-1 space. Beg v-stitch, 9 dc in next ch-4 sp. V-stitch in next ch-1 sp. 9 dc in next ch-4 sp. V-stitch in the last ch-1 space. Turn.
- Sl st to ch-1 space. Beg v-stitch. Skip next stitch, (dc, ch 1) 8 times. Dc in next st. V-stitch in next ch-1 space. Skip next stitch, (dc, ch 1) 8 times. Dc in next st. V-stitch in final ch – 1 space. Turn.
The Second Layer of Crochet Sprays
- Sl st to ch-1 space. Beg v-stitch. Skip next stitch, 1 bpdc around next stitch. (Ch 3. Skip next stitch. 1 bpdc around next dc) 4 times. V-stitch in next ch-1 sp. Skip next stitch, (1 bpdc around next dc. Ch 3. Skip next dc) 4 times. 1 bpdc around next dc V-stitch in next ch-1 space. Turn.
- Sl st to ch-1 space. Beg v-stitch. Skip next stitch, big v-stitch in next stitch. (1 sc in next ch-3 sp. Ch 3) 3 times. 1 sc in next ch-3 sp. Big v-stitch in next stitch. V-st in next ch-1 sp. Skip next stitch, big v-stitch in next stitch. (1 sc in next ch-3 sp. Ch 3) 3 times, sc in next ch-3 space. Big v-stitch in next stitch. V-stitch in final ch-1 space. Turn.
- Sl st to ch-1 space. Beg v-stitch. 9 dc in next ch-4 space, (1 sc in next ch-3 space, ch 3) 2 times) sc in next ch-3 space. 9 dc in next ch-4 space. V-stitch in next ch-1 space. 9 dc in next ch-4 space, Skip next stitch (1 sc in next ch-3 space, ch 3) 2 times, sc in next ch-3 space. 9 dc in next ch-4 space. V-stitch in the last ch-1 space. Turn
- Sl st to ch-1 space. Beg v-stitch. Skip next stitch, (dc, ch 1) 8 times. Dc in next st. Sc in ch-3 space, ch 3, sc in next ch-3 space. Skip next stitch, (dc, ch 1) 8 times. Dc in next st. V-stitch in next ch-1 space. Skip next stitch, (dc, ch 1) 8 times. Dc in next st. Sc in ch-3 space, ch 3, sc in next ch-3 space. (Dc, ch 1) 8 times. Dc in next st. V-stitch in final ch-1 space. Turn.
Continue to add more spray fans between the fans. Only the middle fans and outside fans stay in the same spot each time. The ones in between the middle and edge form between the last crochet sprays and increases by 1 extra per side.
- Sl st to ch-1 space. Beg v-stitch. Skip next stitch, 1 bpdc around next stitch. (Ch 3. Skip next stitch. 1 bpdc around next dc) 3 times. Ch 3, 2 together bpdc next dc and next dc, (Ch 3. Skip next stitch. 1 bpdc around next dc) 4 times. V-Stitch in the next ch-1 space. Skip next stitch, 1 bpdc around next stitch. (Ch 3. Skip next stitch. 1 bpdc around next dc) 3 times. Ch 3, 2 together bpdc next dc and next dc, . Ch 3, 1 bpdc next dc, (Ch 3. Skip next stitch. 1 bpdc around next dc) 4 times. V-Stitch in the next ch-1 space. Turn.
- Sl st to ch-1 space. Beg v-stitch. Skip next stitch, big v-stitch in next stitch. (1 sc in next ch-3 sp. Ch 3) 3 times. 1 sc in next ch-3 sp. Big v-stitch in next stitch. (1 sc in next ch-3 sp. Ch 3) 3 times. 1 sc in next ch-3 sp. Big v-stitch in next stitch. V-st in next ch-1 sp. Skip next stitch, big v-stitch in next stitch. (1 sc in next ch-3 sp. Ch 3) 3 times. 1 sc in next ch-3 sp. Big v-stitch in next stitch. (1 sc in next ch-3 sp. Ch 3) 3 times. 1 sc in next ch-3 sp. Big v-stitch in next stitch V-stitch in ch-1 sp. Turn.
Armholes
Armholes start on row Row 25, which is the dcbp row.
Row 25: Sl st to ch-1 space. Beg v-stitch. Skip next stitch, 1 bpdc around next stitch. (Ch 3. Skip next stitch. 1 bpdc around next dc) 3 times. Ch 3, 2 together bpdc next dc and next dc. *Chain 31, skip over the next two “sprays” Place a dc 2- together using the last dc of the second spray and the next dc of the next spray. Then continue following pattern for 3 sprays* to the point. For the second armhole make 3 “sprays” then repeat from * to * to the end of row.
Return to following the pattern. So on row 26 when you hit those chains work the pattern as you have been using the chains as necessary to place your stitches.
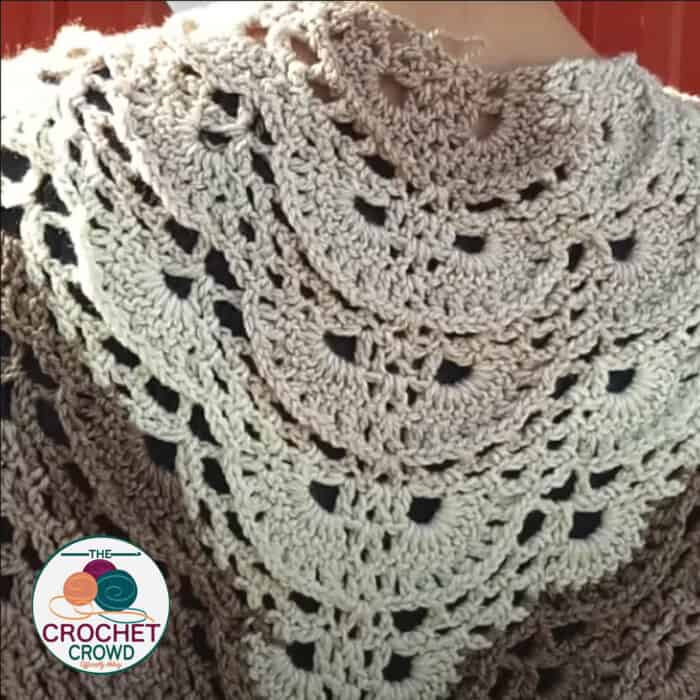
Tutorial
The tutorial is demonstrating the Shawl. Use the variation above for Row 25 & 26 to continue your shawl.
Tracy says
Could someone tell me the name of the "cake" used to create the Vest??? Can't seem to find it no matter where I look. LOVE that color combo and hoping it hasn't been discontinued!
Laura Jean Bartholomew says
Tracy, LJ here for the purplish one I used Caron Cakes in Bumbleberry 🙂 - lj
Maggie says
Hi Mikey I want to so the meringue blanket like the shawl is done can i do it
Laura Jean Bartholomew says
Hi Maggie- not sure what you are asking. There is a shawl and a vest pattern made from the Fluffy Meringue Pattern. - LJ
Mary says
What is a "bpdc"?
Laura Jean Bartholomew says
Mary that would be Back Post Double Crochet.
Jeanne - The Crochet Crowd says
Back post double crochet